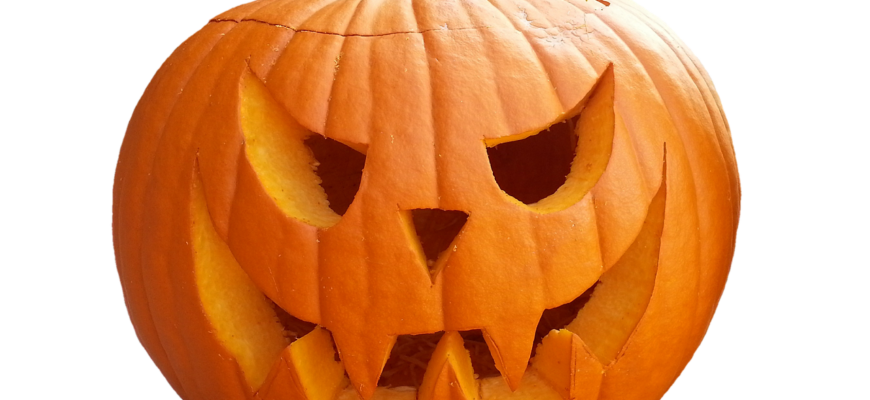
Carved to perfection, we have seen pumpkins with so many different designs and styles. So much that there has been a misconception about the carving of the great orange fruit, that it’s too hard. Well, we’re here today to defy that misconception. Carving a pumpkin is actually very simple. By following a few easy steps, you will be well on your way to being a pumpkin carving design machine, respectfully.
CARVING TIME!
The first initial step would be to, well, buy a pumpkin. Whether it be your local grocery store or pumpkin patch [ Tanaka Farms ], find the pumpkin that calls out to you. It will begin to allow those needed creative vibes to flow. Second, take a marker and draw a circle around the upper region surrounding the stem. This step is important in preparing to hollow out your fruit. Once you have cut and hollowed out the inside, take your spoon and rub against the inside alongside where you will trace your design on the opposite side. Once that’s done, take your pen and draw out what you want carved onto the pumpkin. Then begin carving. Once the pumpkin is carved, wipe all debris from the pumpkin, place your tea candle inside, and you’re all done…with the creating and carving at least.
Tidy Up
Now it’s time to clean. You have pumpkin guts all over the place. Seeds GALORE. What do you do? Well, one way to save time and energy is by just simply throwing away your trash as you make it. In the end all you will have to do is wipe down your carving space and enjoy your pumpkin. Another way to keep clean would be to place down some foil or a baking sheet and create a sort of restricted workspace to ensure a larger mess is not created. For more tips on cleanliness and the pumpkin, click here.
It’s spooky season! Get in the spirit this October by grabbing a pumpkin and getting creative.


